About designing in Create24
With Create24, you can incorporate your own images, shapes, and text into the layout of a slide or video.
What are layers?
Each design element — image, shape, or text — exists on a separate layer. These layers are stacked to create the image. Each layer can be moved individually without affecting other parts of the design. The content on each layer overlaps the layer below it.
 |
 |
How do I use layers in my design?
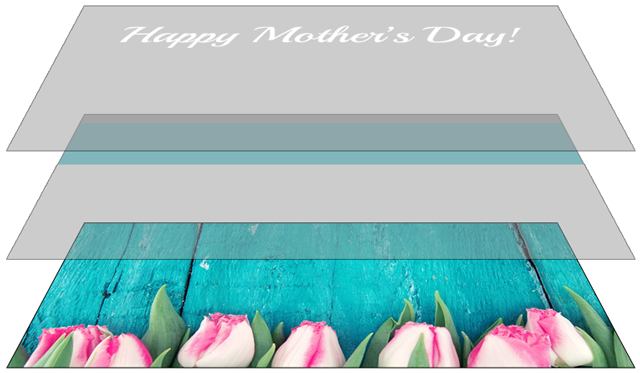
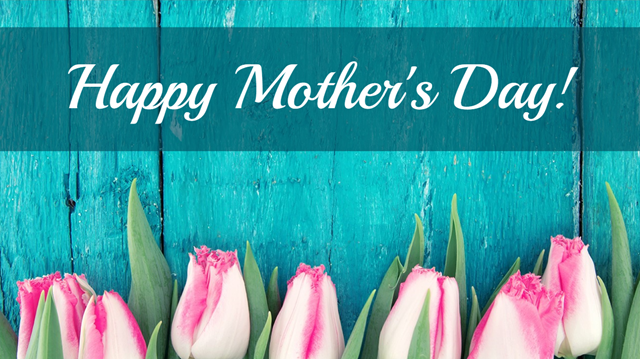
When layers overlap, the visibility of a layer depends on its position in the layer stack on the left side of the workspace. The slide below has three layers.

In this example, the designer placed a semi-transparent blue rectangle between the text and the background to make the text stand out more.
Layer 1 — Text
![]()
Layer 2 — Shape
![]()
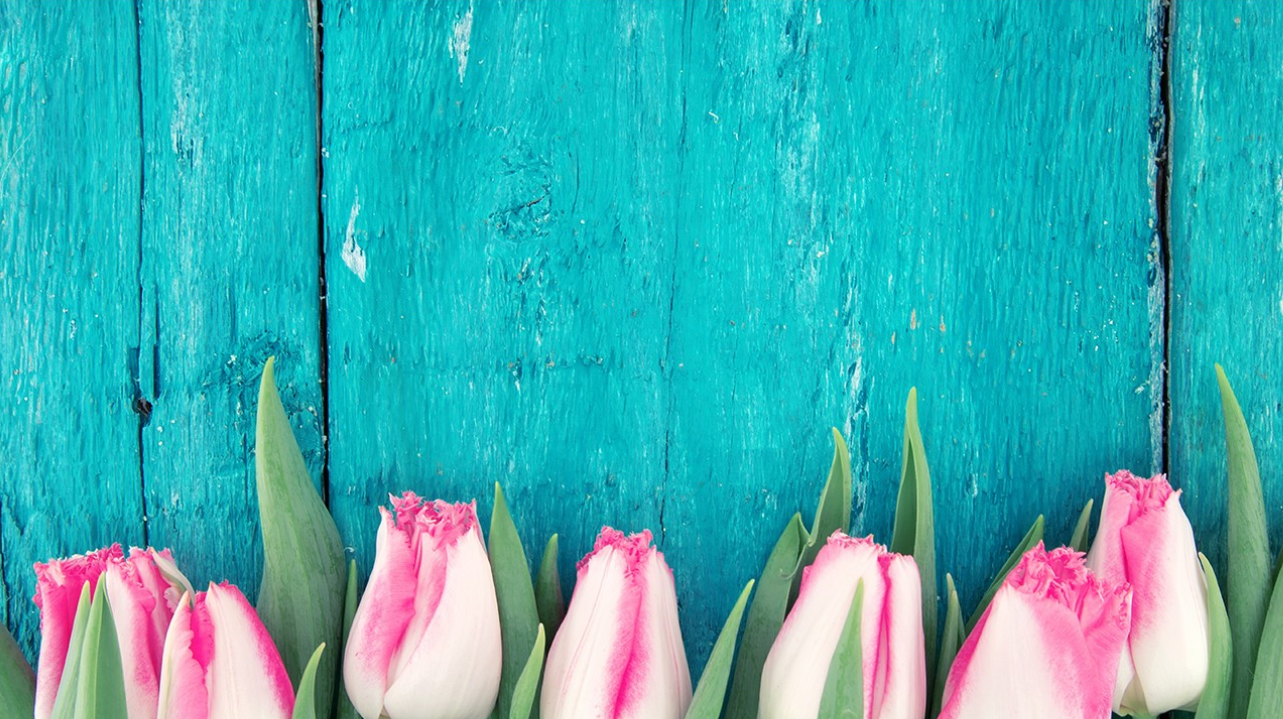
Layer 3 — Background

Add a layer by clicking the “+” in the layers palette.
The background layer is locked and cannot be moved. Move other layers higher or lower in the stack by grabbing the triple-bar icon ( ) and dragging them.
You can have as many layers as you want. It can be helpful to name the layers. Click the vertical ellipsis (three stacked dots) icon on the image layer to reveal these options:
- Change Name
- Duplicate
- Delete

Working with images
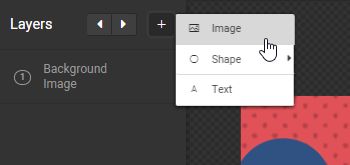
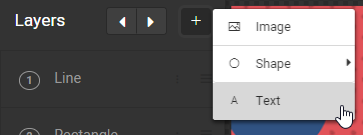
To add a new image, click the “+” button at the top of the Layers panel and select Image.
Then, click the Upload File button on the right or select an image from the libraries at left. The image appears in the middle of the design with a blue border around it.
You can modify the image in the following ways:
- Move: Click anywhere on the image and drag it.
- Resize: Click any of the “handles” (squares) on the blue frame and drag.
- Rotate: Click one of the circles that extend from the top and bottom of the blue frame. Drag in a circular motion.
- Crop: Click the Crop button in the options panel on the right side of the screen. A dropdown menu will give you the option to crop the image in a rectangle, ellipse, circle or triangle. The blue border around the image turns red. Grab and move a corner or edge to crop the image. To return to normal mode, click the Crop button again to deselect it.

Working with shapes
To add a shape, click the “+” button at the top of the Layers panel and select Shape.
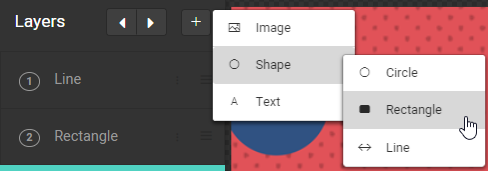
From the dropdown that appears, select either Circle, Rectangle, or Line. The shape appears in the middle of the design with a blue border around it.
You can modify the shape in the following ways:
- Move: Click anywhere on a shape and drag it. For lines, click the center circle and drag.
- Resize: Click any of the “handles” (squares) on the blue frame and drag. For lines, click the end points.
- Rotate: Click one of the circles that extend from the top and bottom of the blue frame. For lines, click the end points. Drag in a circular motion.
- Color and border: When the layer is selected, an options panel appears at the right. You can select the fill color, border color, and border width for circles and rectangles. You can select the color and thickness of a line. The color selectors also give you the option of setting the transparency of the layers, allowing other layers to peek through.
- Line snap alignment: When designing with lines, there is an option on the right to “snap” the line to the nearest half-axis. This can help you keep your lines straight. Toggle the Snap option on and off as desired.
Working with text
To add a text element, click the “+” button at the top of the Layers panel and select Text. A new text element appears in the center of the screen.
- Change the text by typing in the white Text box in the panel at right.
- Change the look of the text with the other options in the panel at right:
- Typeface
- Size
- Setting (Bold, italic, underline)
- Alignment
- Spacing
- Line Height
- Resize the text box: Click any of the “handles” (squares) on the blue frame and drag. This will allow you to accommodate more text as needed.
- Rotate the text box: Click one of the circles that extend from the top and bottom of the blue frame. Drag in a circular motion.