About on hold playlists
A playlist is the selection of messages and background music that your callers hear while on hold.
Create a playlist
From the My Products Page, click the On Hold Messaging Players Dashboard button.

This takes you to the On Hold Dashboard.
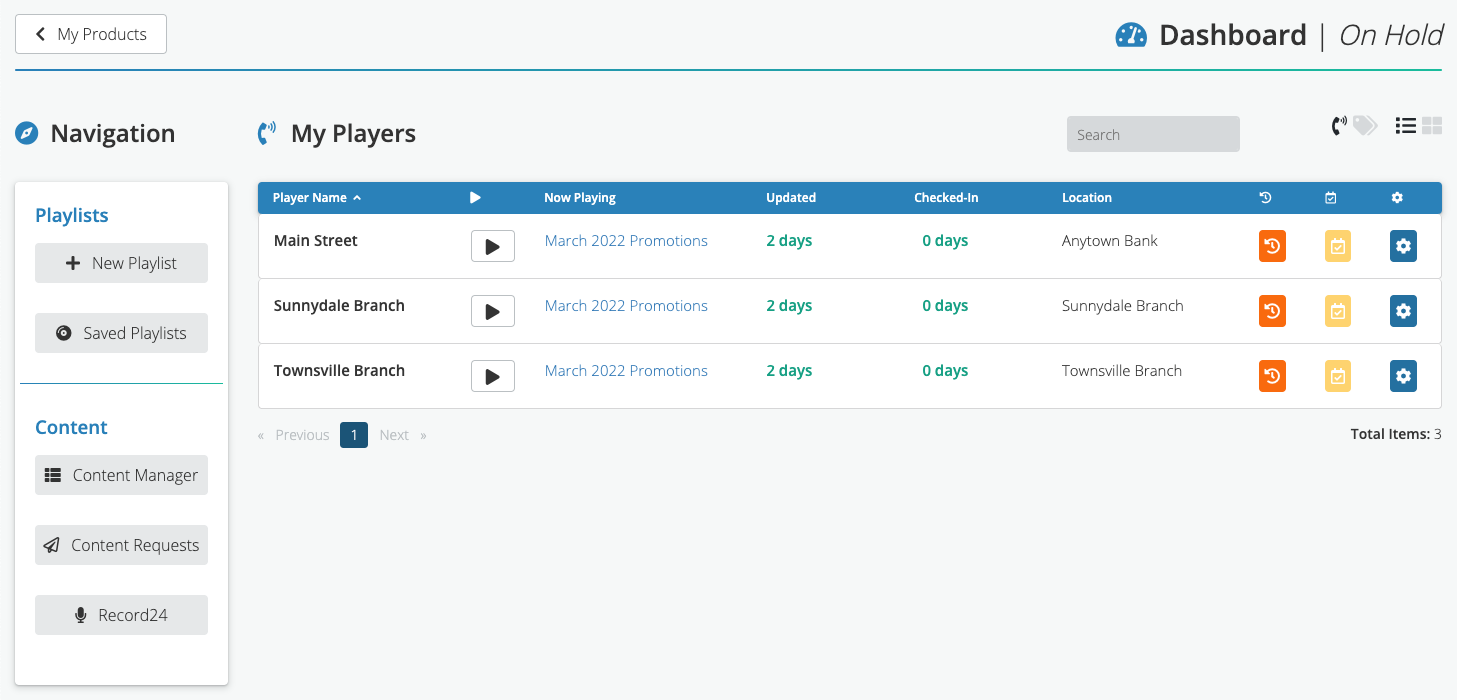 Click the New Playlist button on the left. This takes you to the Playlist Builder.
Browse your on hold messages
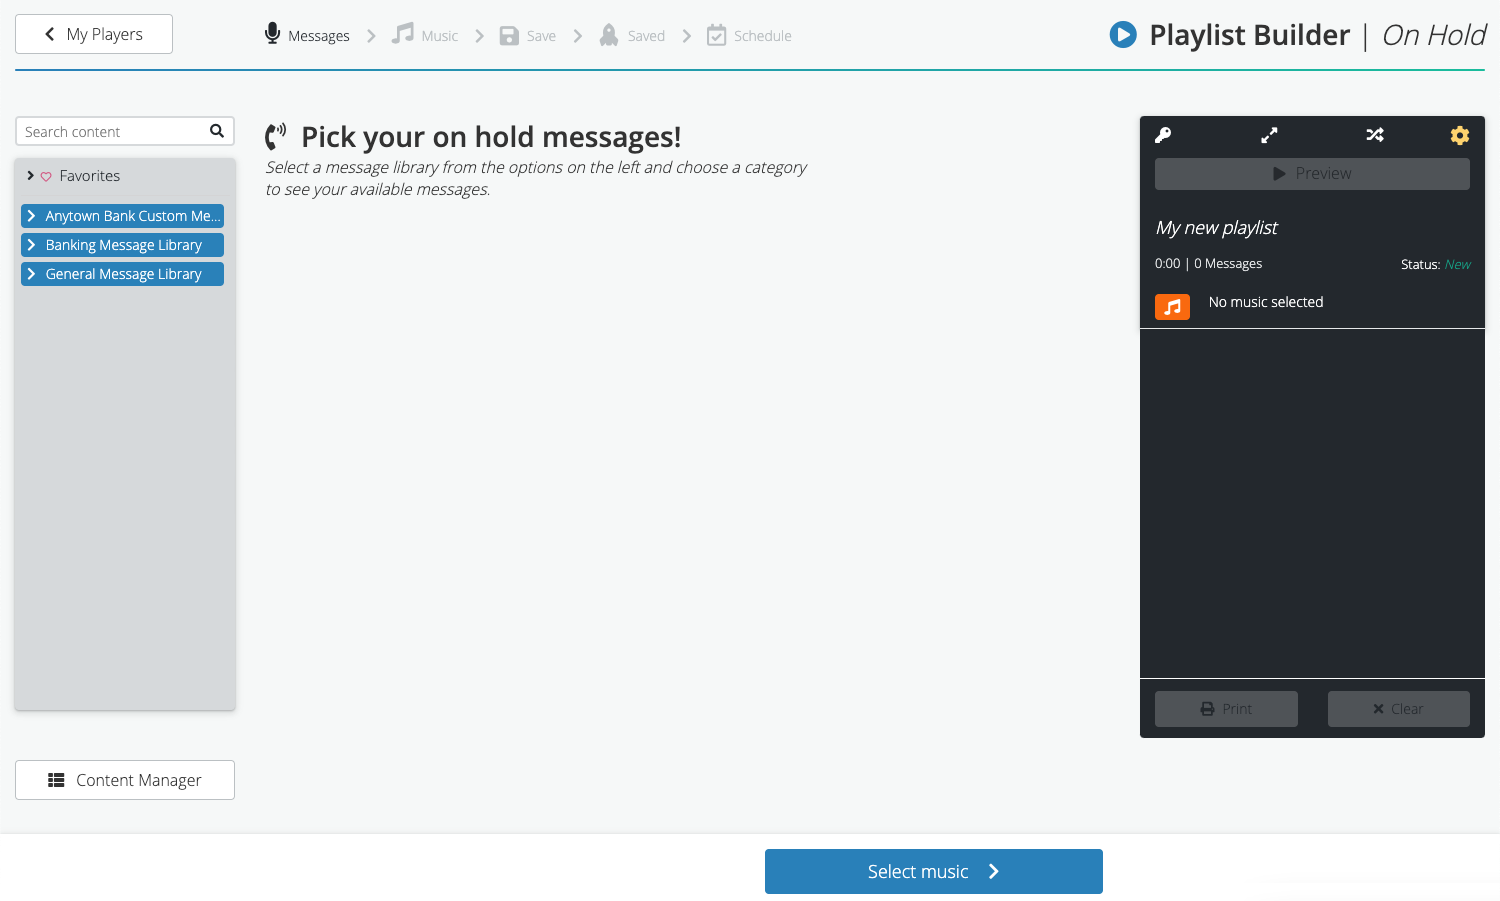
Message libraries are on the left side of the Playlist Builder. Click a folder to view the list of the messages.

- Click the Script button to read the message text.
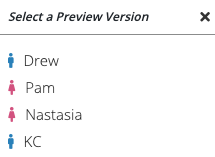
- Click the Play button to listen to the message. A menu of voice options appears.
- Click the heart icon to add this message to your Favorites library, which is at the top of the libraries list on the left.
Learn more about library features on the About on hold libraries page.
Add messages to the playlist
Click the Add button for the message you want to add. A dropdown menu appears. Select a male or female voice.
The message appears in the playlist on the right. You may reorder the messages by clicking and holding a message, then dragging it higher or lower in the list. Delete a message from the list by clicking the white “X”.
Playlist tips:
You may silence the music during individual messages. This is helpful for custom messages that have their own music. In the playlist, click the play icon to the left of the message title. A popup with information about the message appears. At the bottom, click the checkbox next to “Silence music track.”

Adjust the pause duration between messages by clicking the yellow gear icon at the top right of the playlist. (You may change the default pause for all messages in Tools > Global Settings.)
Shuffle the clips using the crossed arrows button at the top of the playlist.
Use the Print button at the bottom of your playlist to print the scripts of all of the messages in the playlist.

![]() Once you have ordered the messages in the playlist, click the blue Select music button at the bottom of the screen.
Once you have ordered the messages in the playlist, click the blue Select music button at the bottom of the screen.
Add music to the playlist
Each playlist includes a musical selection that plays on a loop.
On the left of the Playlist Builder is a selection of music libraries. Click the library categories to browse. Details about the selections appear in the middle of the screen.
- Click the Play button to listen to a preview.
- Click the heart to add this message to your Favorites library, which is at the top of the libraries list on the left.
Click the Add button for the music you want. The title of the musical selection appears at the top of the playlist.

Save playlist
After selecting your music, click the green Save playlist button at the bottom of the screen. A window appears, prompting you to name and save your playlist.
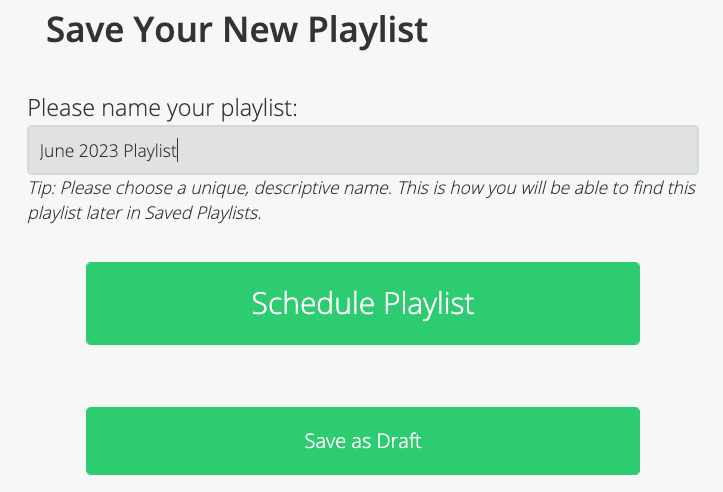
In the field under “Please name your playlist”, type a unique, descriptive name that will make this playlist easy to find. You may want to include the date and topics.
Click one of the two green buttons:
- Schedule Playlist
Schedule playlist delivery for right now or a date in the future. - Save as Draft
Save as a draft and come back to edit or schedule later.
Schedule playlist
If you selected Schedule Playlist, you should be on the Schedule page.
1. Choose your players
Select which players will run this playlist.
Click a player from the Available Players list on the left. Drag it to the Assigned Players list. Only players on the Assigned Players list will receive this playlist.
You may also add or remove all players from the Assigned Players list by using the buttons in the center.

2. Choose schedule option
Once you’ve selected your players, you can either begin playing the playlist immediately, or schedule it for a later time.
Start right now — Click the Schedule Playlist Now button. The playlist will start within the hour.
Schedule later — Select the date and time from the dropdown menus, then click the Schedule on Selected Date/Time button. The playlist will begin within an hour of the selected date and time.

Getting a VOIP email
If you are a VOIP customer, your VOIP sound files are emailed when you schedule the playlist. The playlist is sent to the user who created it and any additional VOIP recipients for the account. Look for an email from your CSR with the sound file attached. Save it to your computer, then upload it to the call manager of your phone system.