
About data feed templates
 Feed item (From Portal) |
+
|
 Template (From Create24) |
=
|

Slide or video clip |
Automate a portion of your content by using custom data feeds to generate slides or video clips. This works well for items that change, such as messages from the CEO, anniversaries, and events.
There are two parts to a custom data feed: the feed content and the feed display.
Feed content is created in the Works24 Portal.
Feed displays — the slide and video templates covered in this article — are built in the Create24 video editor.
Get started
Once you have created a data feed in the Portal, log in to Create24 using the same username and password. This takes you to the Content/Templates screen.
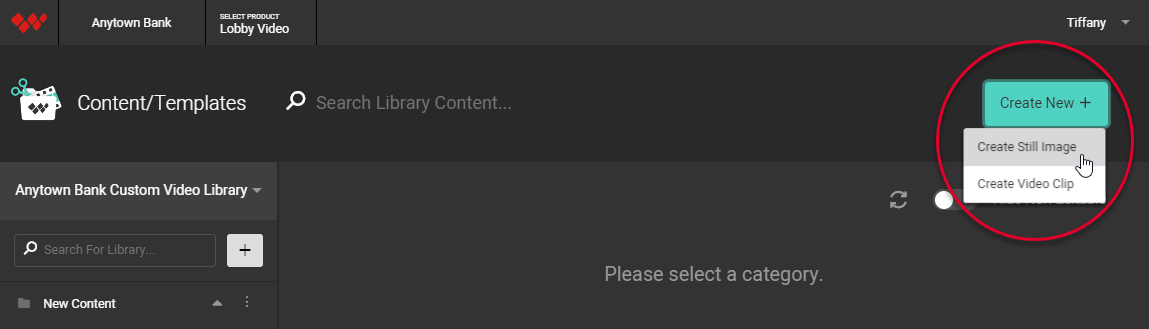
Click the Create New button at the top right corner of the screen, then select Create Still Image or Create Video Clip.
Choose background
Select from one of three background options:
- Choose a background video or image from the content library. Click any folder on the left, and the images or videos appear on the right.
- Upload your own image (1280 x 720 pixels) or video by clicking Upload File.
IMPORTANT: Please follow the guidelines listed in our Specs for uploading video clips article. - Slides only: use a solid-color background by clicking the Blank Canvas button.

Name the feed template
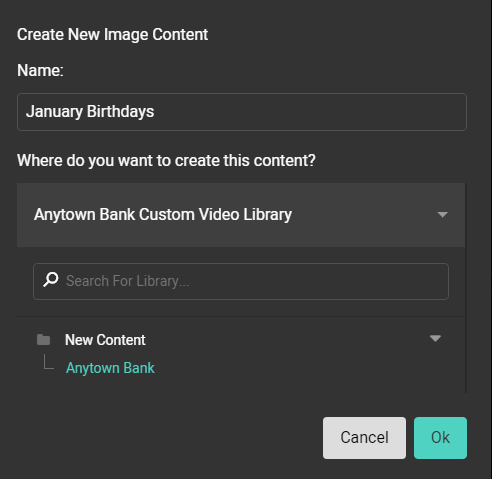
After making your background selection, you will be prompted to name the feed template, and pick the library and category you want the template saved. Click OK.
Select a feed for your slide template
You’re now at the Create24 design workspace.
Select the custom feed you want to use from the menu at the top of the screen.
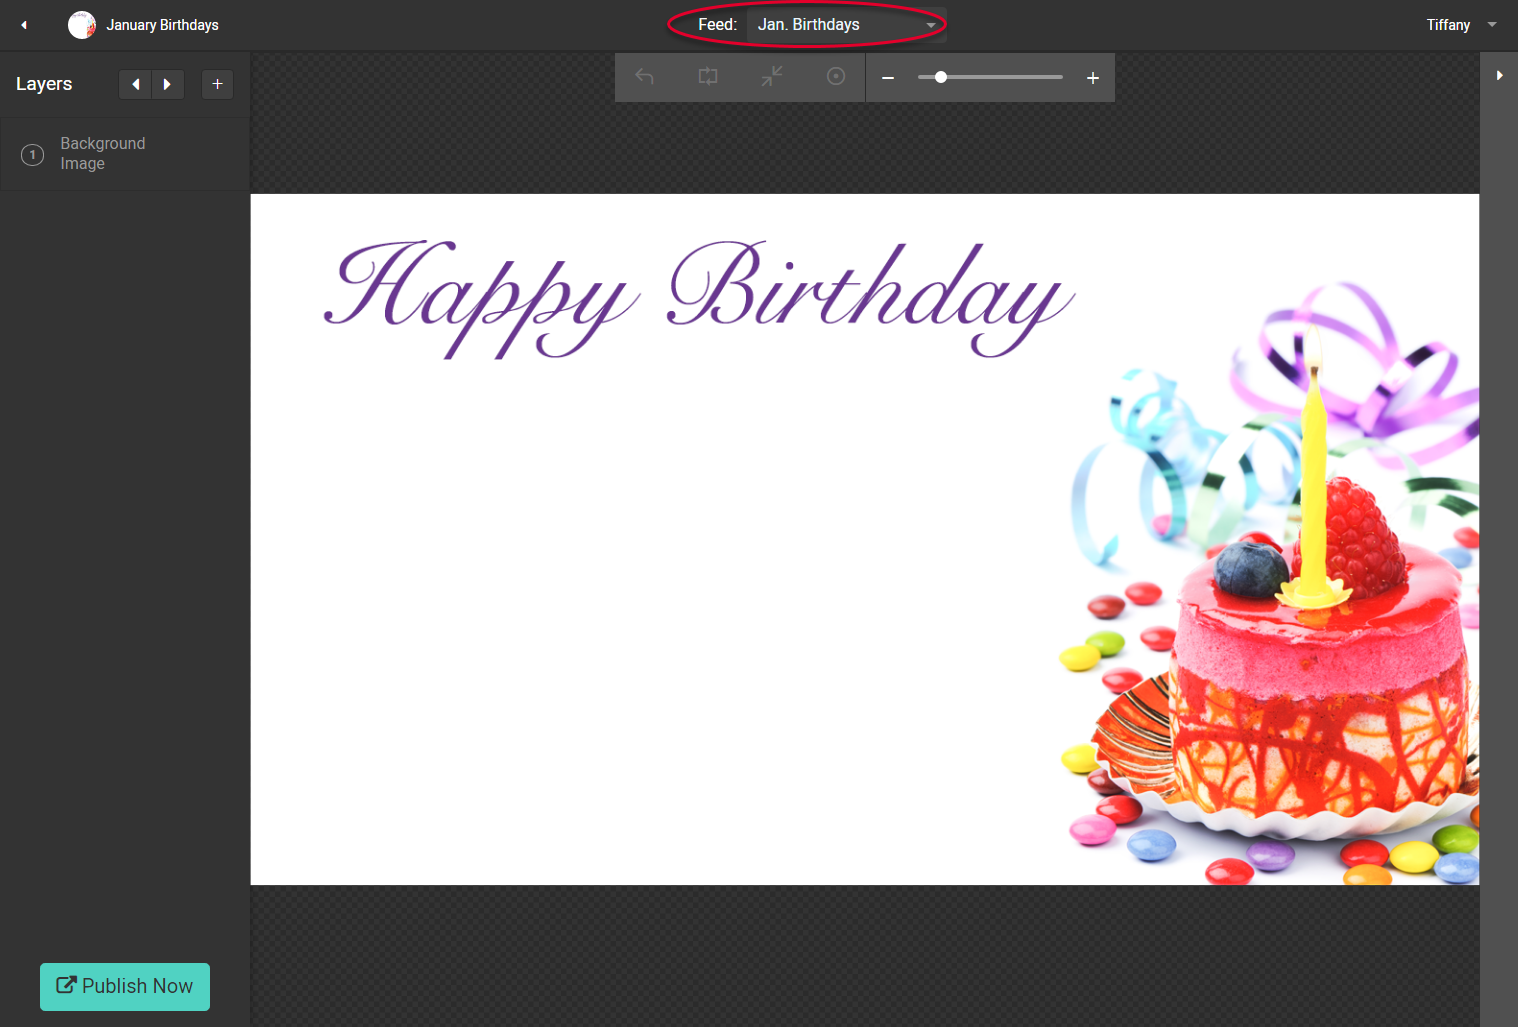
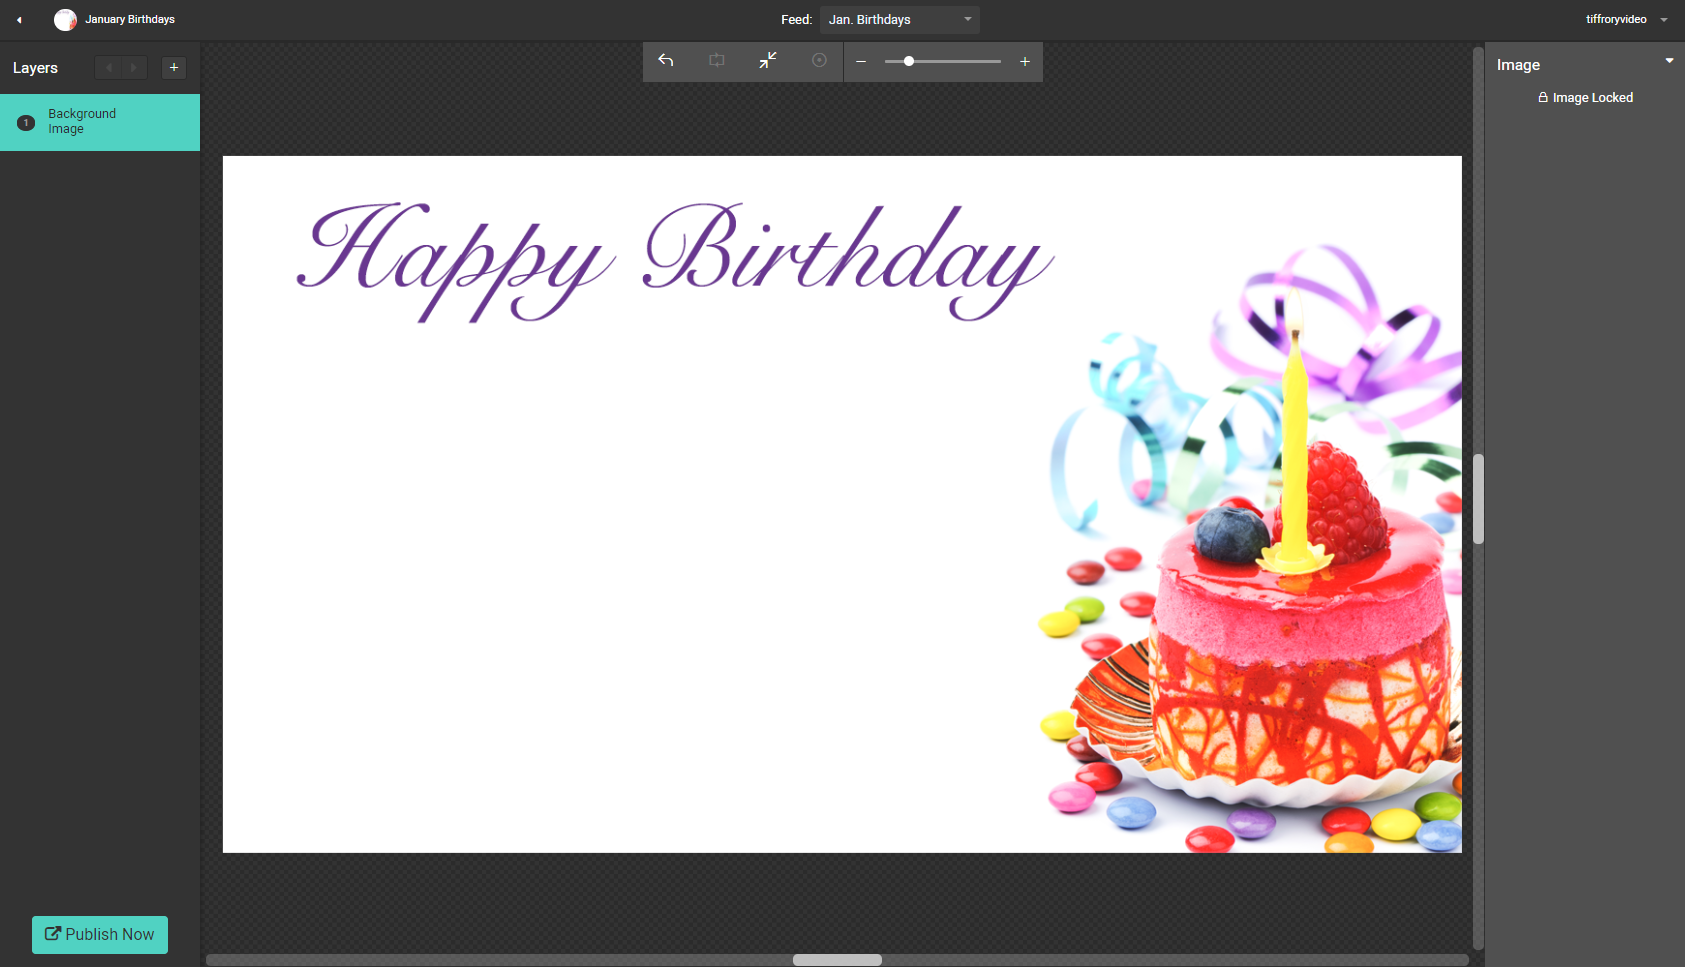
In this example, we are building a slide template to display our January birthdays feed.
Create feed layers for images and text
You will design this template very much as you would any other slide or video clip. In addition, you will add feed layers — placeholders for the text and images pulled from your data feeds.
Create a feed layer for images
Click the “+” button, then select Feed > Image.
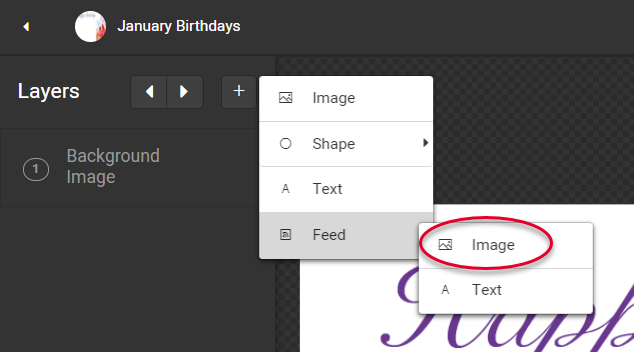
An image frame appears, containing one of the images from your feed. Note: Occasionally, when traffic is heavy, it can take up to half an hour for the images to become available here after you upload them to your data feed.
Position and size the image frame.
To see how different images from your feed will look in the space, use the Choose Feed Source numbered menu.
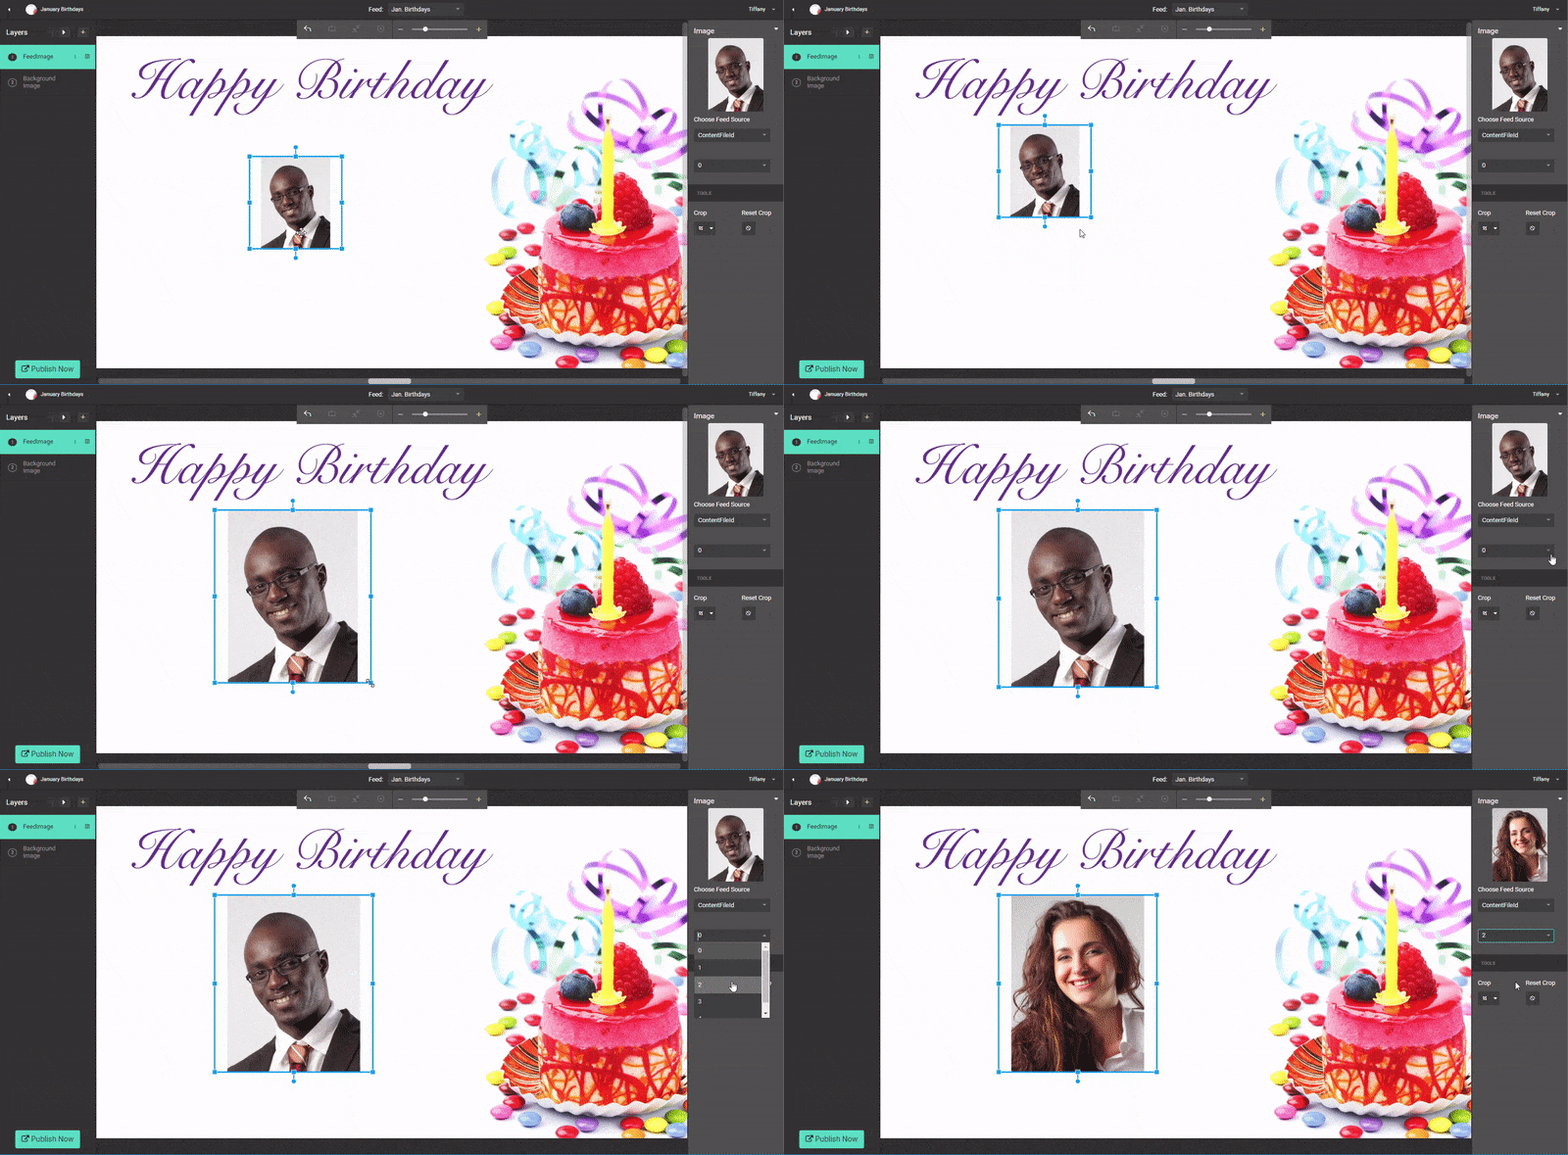
Create a space for text
Click the “+” button, then select Feed > Text.
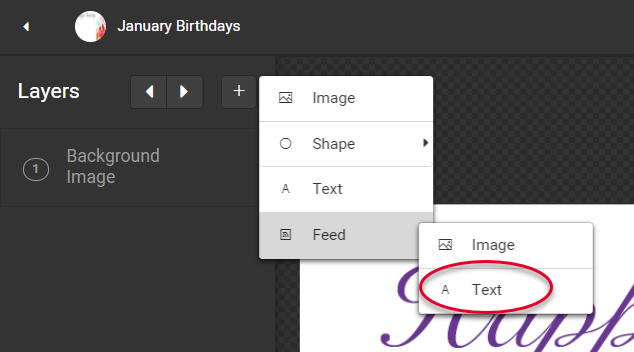
In the options panel at right, choose the feed source: Title or Body. (Add one layer for each if your feed includes both.)
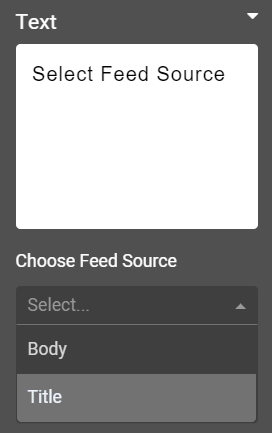
Once selected, text from your data feed will appear in the text box. Position and adjust the type. Use the numbered dropdown menu under Choose Feed Source to preview different feed items.



Publish your template
Add any other content you’d like. When you are satisfied with your design, click Publish. The slide or video will be added to the library and category you designated, but it may take up to 30 minutes to process and become available in the Portal. You cannot make changes to the design during this time.